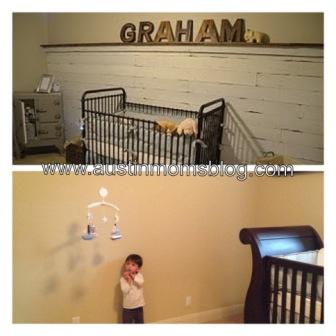
Back in February, I wrote about my son’s BIG BOY room and the DIY Cedar Plank Wall that we completed. The original plan was to duplicate the soon-to-be new baby’s room in the same fashion. I was having a lot of anxiety about doing the same room. For starters, the room is about a foot smaller and I feared the dark wood planks would dwarf the room. Secondly, they are two different people so I didn’t necessarily want them to have identical rooms. And last, the dark cedar wood gives an older more mature big boy feel, and our littlest would be a newborn…the room wouldn’t be very baby once I thought about it.
So I researched and used ole’ faithful, Pinterest for some ideas and here’s the DIY for a new spin on the Cedar Plank Wall that makes it WAY more baby!


What you need:
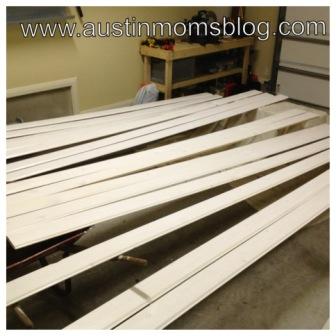
- Raw Cedar “tongue and groove” Planks from Home Depot- We looked around and Home Depot had the best wood option. You can definitely get thinner and less expensive wood, but we loved all the knots in the wood as well the sturdiness of the boards. The boards were 12′ long, 6″ wide, and about 1/2″ thick. They ran us $8.55 per board and we purchased 15 boards for the size of our wall and knowing that we only wanted to go ¾ of the way up. Total Cost: $128.25 plus tax.
- MinWax Wood Stain- We decided to go with White Wash Pickling for this project, again, to make it more “baby”. As I mentioned in the previous DIY blog, a little bit of stain goes a long way; however, this white wash pickling concoction is kind of a cross between paint and stain so you definitely need more…we did 2 coats, which was perfect because you could still see all of the knots in the wood. We bought 2 quart size containers and used about 1 ½. The 2 containers cost less than $15.
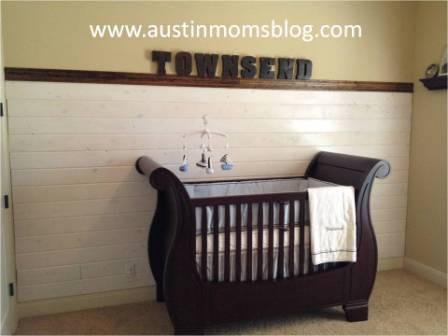
- Crown Molding- We purchased unstained crown molding from Home Depot. We needed 2 pieces for our wall size and this cost us $50 for both pieces. We stained it a dark color from our previous Minwax stain stash from the first project.
- Screws/Nails- You definitely need both. Even though the tongue and groove fit nicely into each other, to ensure nothing falls off in the middle of the night, you should nail and put at least one screw into a stud on each board. I used a Q-tip and was able to use the White Wash Pickling stain to cover up the silver color of the screws and nails.
- Miter or Table Saw- Thank you AGAIN to our amazing neighbor, Evan for allowing us to borrow his saw for the weekend. You cannot complete this project without a saw that makes a clean precise cut.
Total Cost of Project: $193.25
Starting the process:
The most difficult part of the project was cutting around the electrical outlets. Hubs decided to start from the bottom to ensure a nice tight fit with the boards. Since the outlets are closest to the baseboards, we hit the tedious part of the project immediately. He literally had to cut tiny little pieces of wood to fit under and above the outlets so that everything lined up. I’m a perfectionist and I wanted the outlets put back on top of the wood rather than just cutting the wood to fit around the outlets and having them inset. It may have been tedious, but the hubs did an amazing job and it looks like a pro did it!
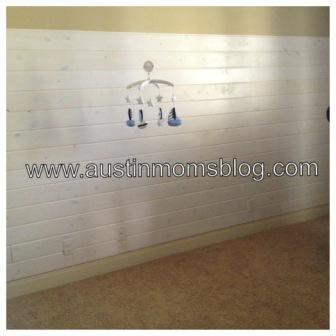
For this project and for our wall, there was way less cutting involved. This wall measures 11’ 11” and the boards are 12’ so we were able to cut off 1” from each board and have the wall be all full length boards rather than a mixture of lengths like our previous DIY wall. It was still tedious, but way less time consuming than previously. And since we decided only to go ¾ of the way up, the project took less time. We went 15 boards up (3/4 of the way up a 10’ wall) and finished off the look of the wall with the crown molding.
We then hung the letters to appear as though they were resting on the crown molding. Now that baby “T” is officially here, here’s his nursery! At least one wall of it.