


DIY: Reusable Food Savers
It’s that time of year. The kids are out of school and you have to pack the entire pantry just to go to the splash pad/pool/playground for an hour. I don’t know about you, but I’m super tired of cleaning those small compartments in our lunch boxes, and I don’t have the budget (or the proper conscious) to pack everything in it’s own individual baggie. And for goodness sake, if any of the food touches one another… *gasp*! So, what better solution than to create your own reusable food savers? They’re simple, extremely cost effective, and can be cleaned with just some simple mild soap and warm water.


*Tip: double the recipe and make some extra for friends + family— it’s a heartfelt, homemade gift they’re sure to love too.
Ingredients-
- 4-5 pieces of thin fabric
- pinking shears (you know, those scissors that cut zig-zags)
- 2 T. pine resin
- 4 T. beeswax, grated (or you can sometimes find it in pellet form)
- 1/2 T. jojoba oil
- 1 small/medium glass bowl
- 1 disposable spatula (a tongue depressor would work just fine)
- 1 disposable paint brush
- aluminum foil
- 1 large baking sheet

Steps-
- PREHEAT oven to 210 degrees fahrenheit.
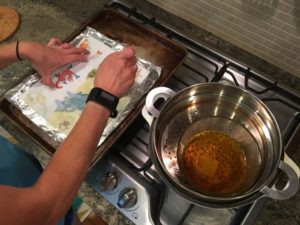
- Place pine resin, beeswax and jojoba oil in a disposable glass bowl (or if you’re looking for an intense arm workout later, use a bowl you’d like to keep). Using a double-boiler method, MELT down the ingredients.
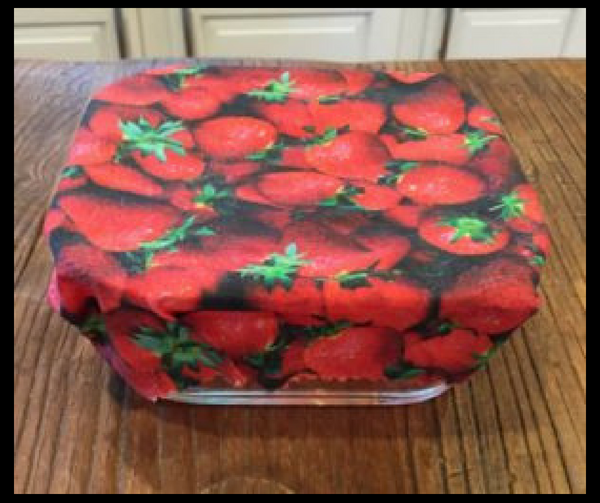
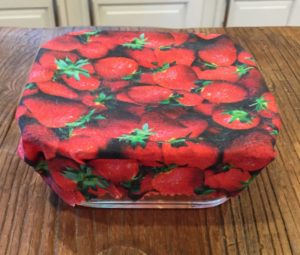
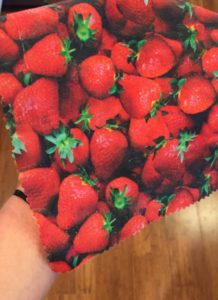
- In the meantime, CUT your fabric with your pinking shears making sure it’s large enough to cover or contain whatever it is you’re wanting to cover/contain—I made mine all different sizes and used a 4 different fabrics just to spice it up a bit. Think nuts, avocado, sandwich, cereal bowl, casserole dish… endless possibilities. You must, however, make sure whatever size you cut can lay completely flat on your baking sheet with a bit of room around it to be able to brush off excess resin.
- COVER a large baking sheet completely with aluminum foil
- LAY out your first piece of fabric onto the baking sheet, making certain it’s completely flat. (I attempted to do multiple pieces at one time, and trust me, it’s best to take your time and do them individually if you want them to turn out well.)
- PAINT the melted wax concoction onto your flattened piece of fabric making sure to work quickly, spread lightly and cover all the fabric.
- BAKE your cloth in the preheated oven for 6 minutes or so.
- REMOVE from the oven and with some decent pressure, brush off all of the excess wax mixture.
- PEEL fabric from the foil and hang up to dry.
- REPEAT the process with all your fabric.
*If you feel that your wraps are a bit sticky after they’re completely dry, there are 2 options:
- REBAKE and RESCRAPE excess resin (I found this method to work well)
- SOAK in soap + moderately warm water
That’s a wrap (my ‘Dad jokes’ have been on point lately).
Enjoy!! And oh, HAPPY END OF SUMMER!!!!


